Want to get your project to start strong? Make sure the entire team, including clients and stakeholders, is aware of potential weak spots to form a clear hypothesis statement.

Create clear focus
Identify risks
Prioritise risks
Summarise results
⏱️ How much time will I invest?
- Over multiple days: four short sessions, about 1 hour each.
- Full-day experience: 2.5 hours session and 2 hour session with a longer break in the middle.
💬 What example scenario will be used in the tactics below?
Pip’s Alcohol-Free Drinks, a well-regarded beverage company, is seeking ways to penetrate a larger market share. To address this, they’ve decided to initiate a fresh marketing campaign to attract new customers.
1
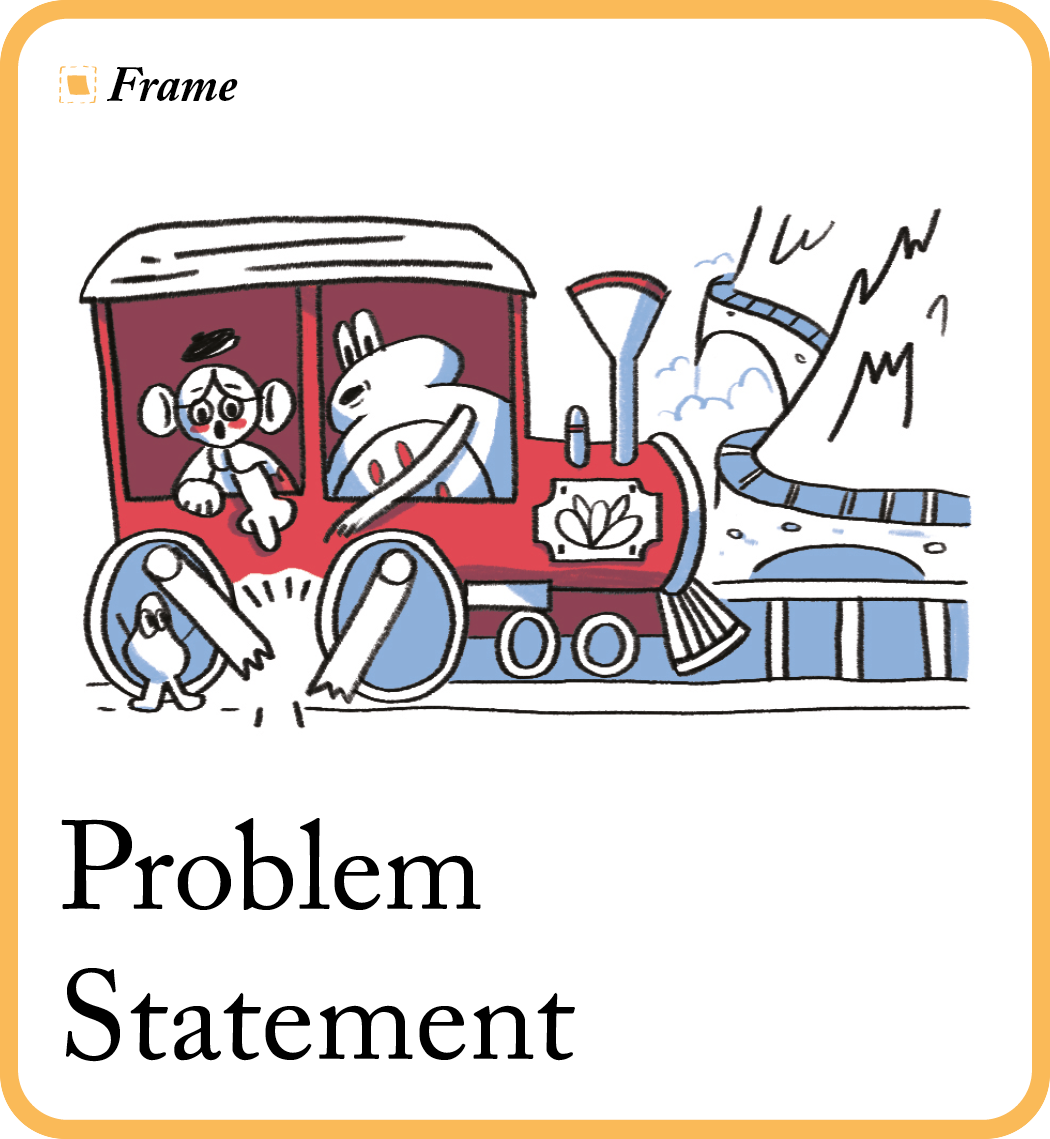
Use Problem Statement to create clear focus
Use Problem Statement to create clear focus
⏱️ Time: 1 hour
🧠 What’s the goal? Frame the problem the project aims to solve, and what the measures of success will be.
👀 Why is this important? Capture the project’s goals, problems, and measurable success criteria. A problem statement gives your team a clear focus for their work. It also defines any important constraints. Constraints are important for group work; they provide guardrails that keep the team grounded and aligned.
💡 Tip: this is great for projects where the client is unclear what problem they’re trying to solve.
Instructions
- Invite stakeholders to this session to make sure you’re all agreeing on the same overall problem to tackle.
- On sticky notes, answer the following questions and Theme Sort.
- What are the current goals of the product or system?
- What problem does the stakeholder(s) want addressed?
- Which goals aren’t being met?
- What is the explicit request for improvement that doesn’t dictate a specific solution?
- Complete the following template from the group’s answers. Discuss and amend until everyone is happy with the problem statement.
[Our service/product] was designed to achieve [these goals].
We have observed that the product/service isn’t meeting [these goals], which is causing [this adverse effect] to our business.
How might we improve [service/product] so that our customers are more successful based on [these measurable criteria]?
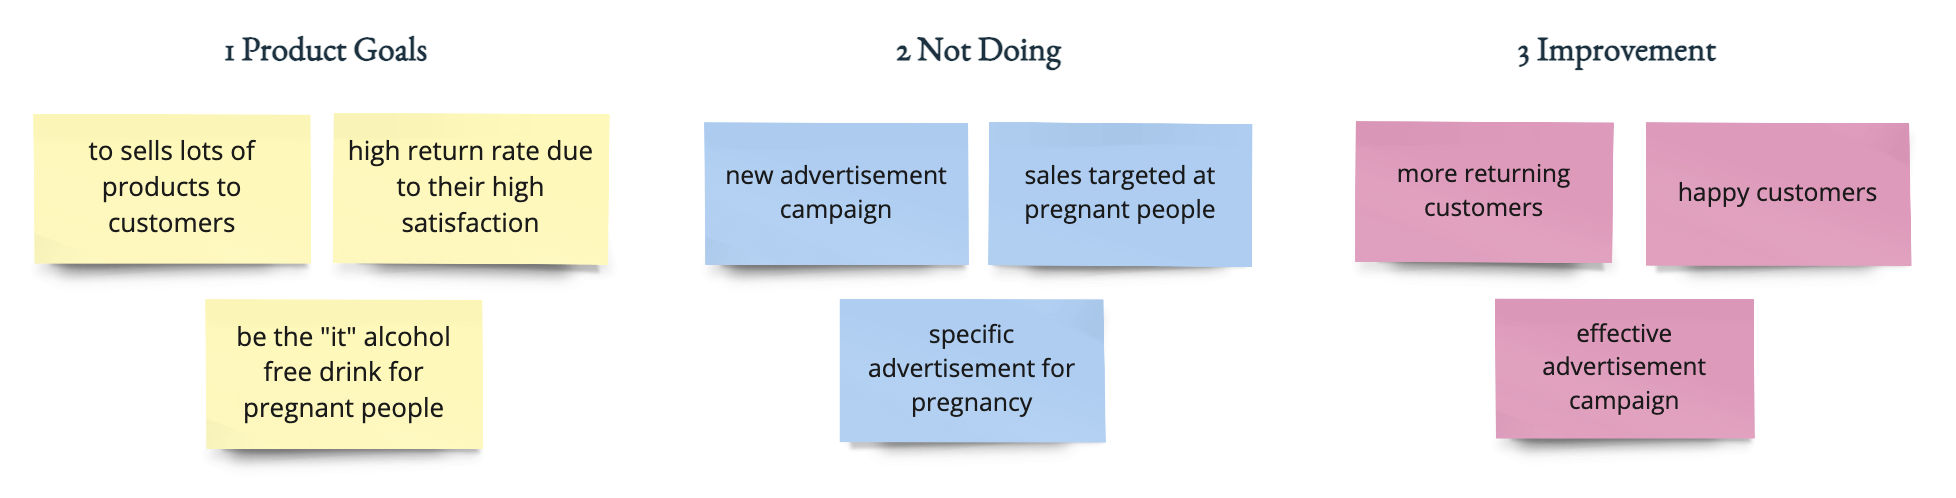
Example Problem Statement
- [Our alcohol-free drink ad campaign] was designed to achieve [an awareness of our alcohol-free product for a specific target group].
- We have observed that the service isn’t meeting the goal of [reaching and educating our main target group], which is causing [lower income for our business].
- How might we improve [our targeted ad campaigns] so that our customers are more successful based on [an increase of sales and returning customers]?
⬇️ In the next tactic, identify risks with Assumption Collecting.
2
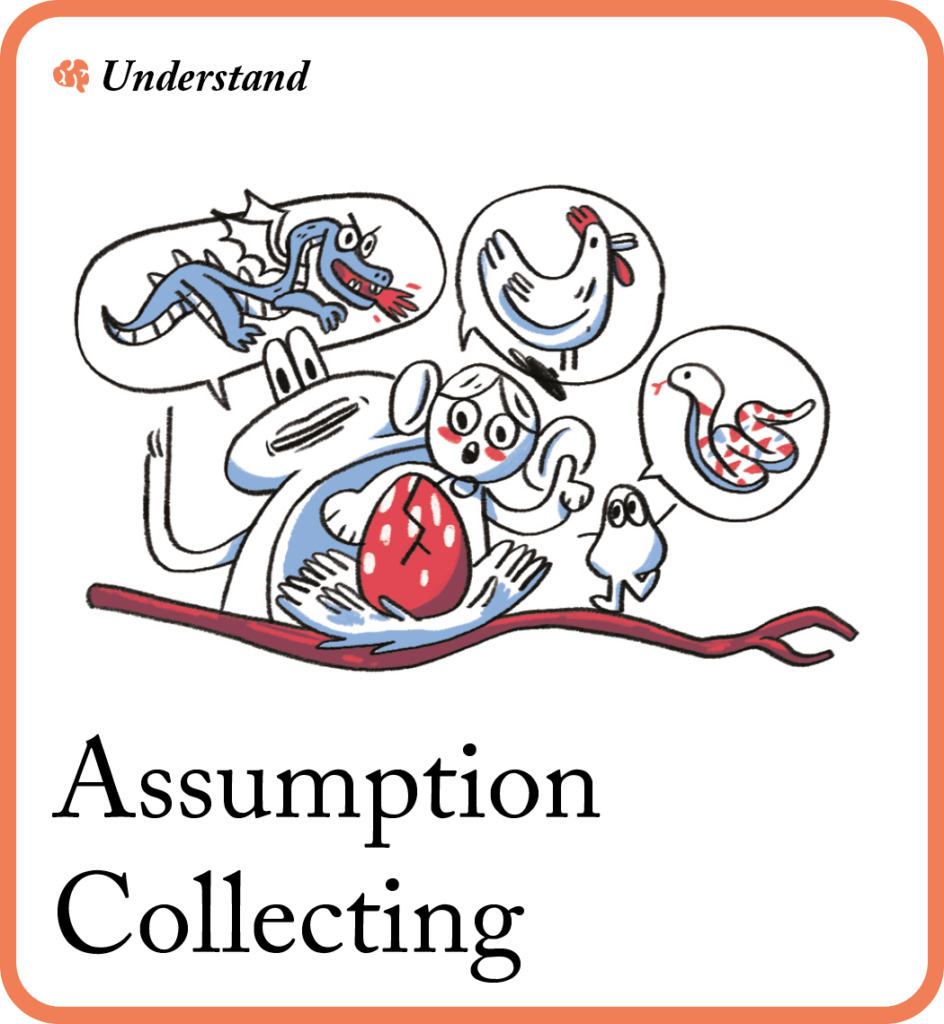
Use Assumption Collecting to help identify risks
Use Assumption Collecting to help identify risks
⏱️ Time: 1 hour
🧠 What’s the goal? Gather all of the team’s user and business assumptions about the problem.
👀 Why is this important? Uncover the assumptions you and your team may have about a project. Declare what you think to be true at the start of the project to help you identify risks. Make everyone’s assumptions visible to remove any surprises later on. Use your clear problem from the previous workshop to start unpacking your assumptions from.
💡 Tip: this is an opportunity for everyone to brain-dump what they think is ‘the truth’ about the project. It’s very interesting to get stakeholders and clients in a room and they give you six different answers to questions like “I believe my customers have a need to…”.
Instructions
- Invite key stakeholders to the workshop. If you used Stakeholder Map in the previous tactic, include those people. Otherwise, try it now to help you invite the right people (complete before)
- Read through assumption questions and give examples to fill in the blanks if needed. (10 minutes)
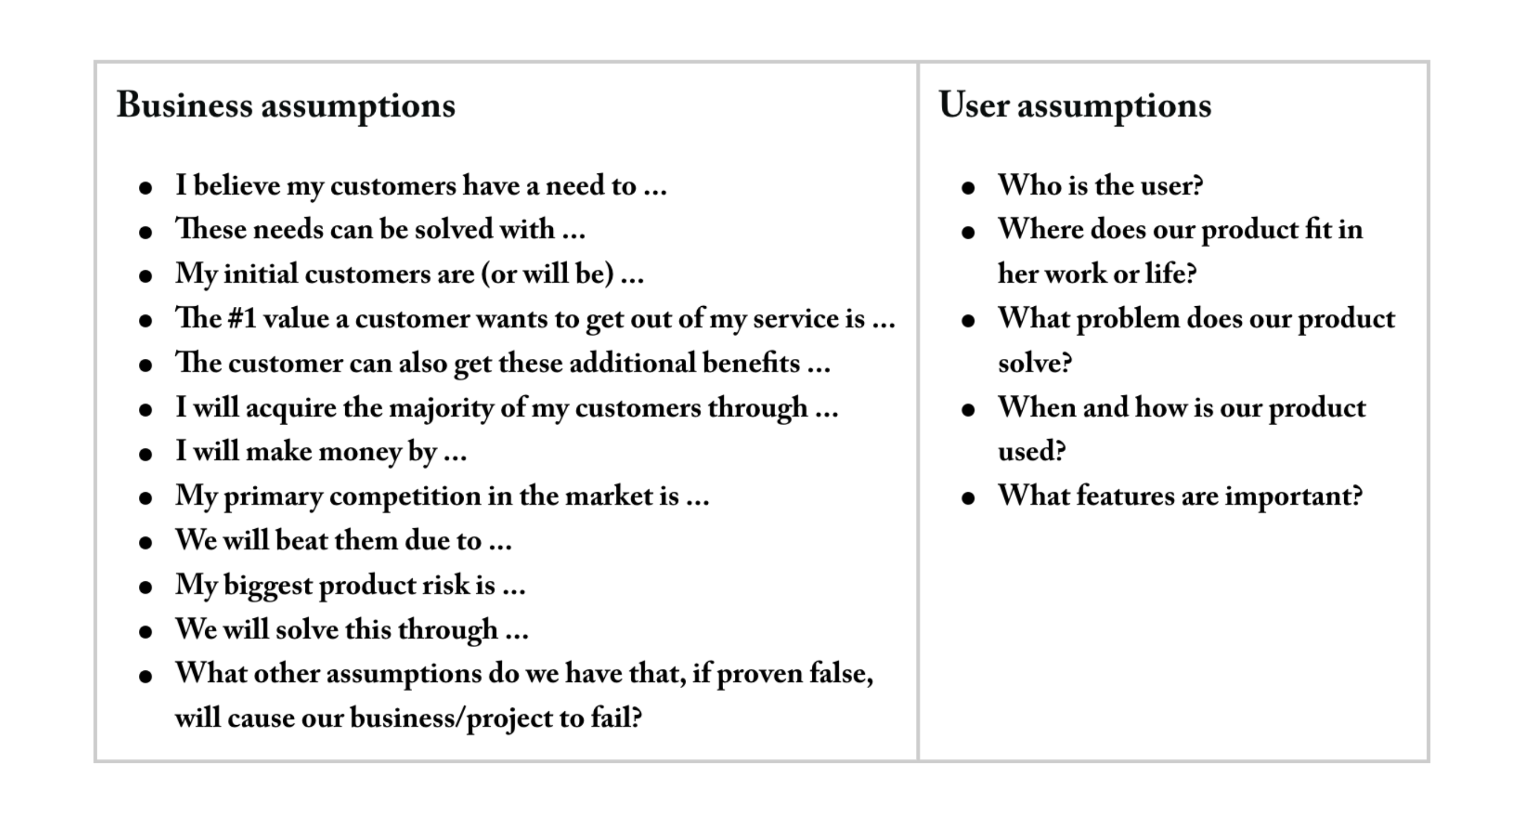
- Ask participants to fill in the blanks themselves, one answer per sticky note. (30 minutes)
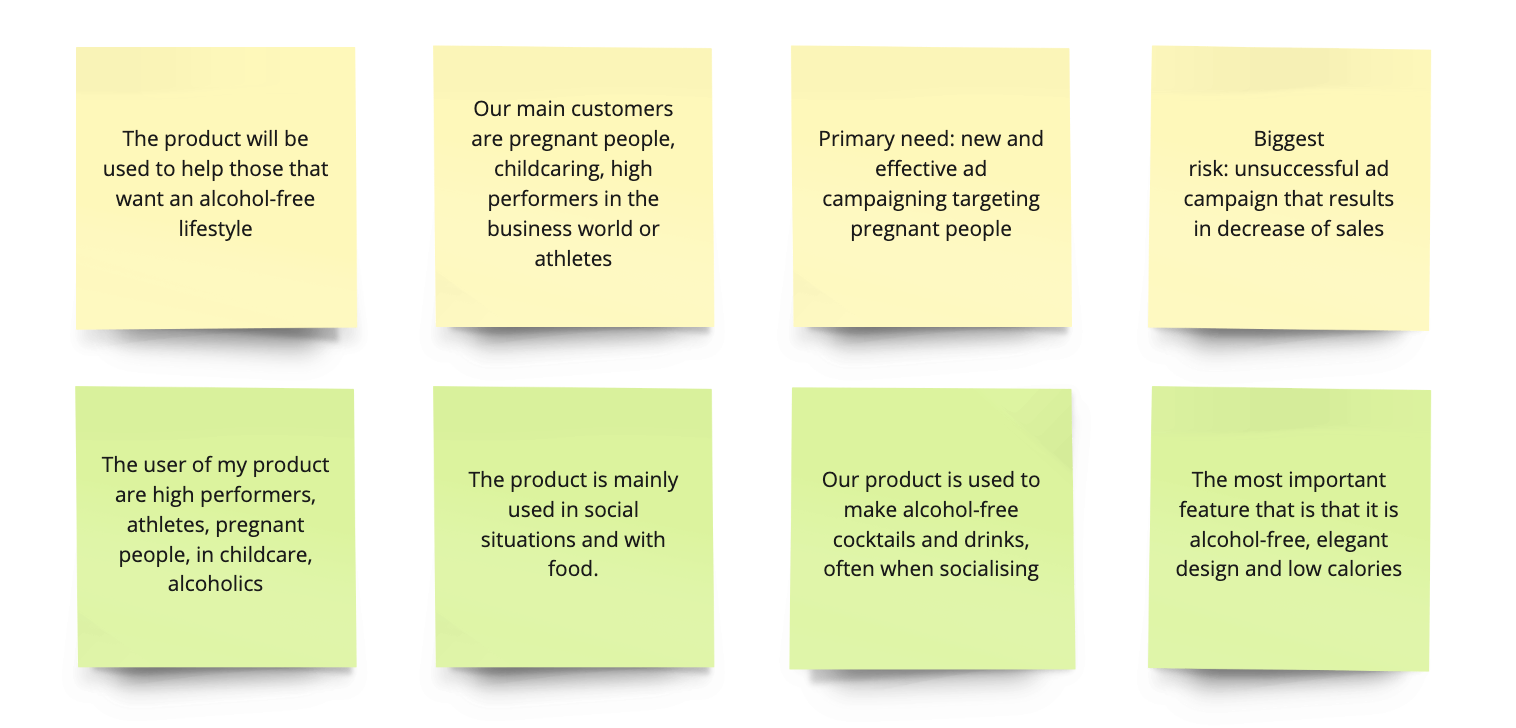
- Theme Sort the answers. (10 minutes)
- Identify any other missing assumptions specific to your project. (10 minutes)
⬇️ In the next tactic, prioritise risks with Assumption Mapping.
3
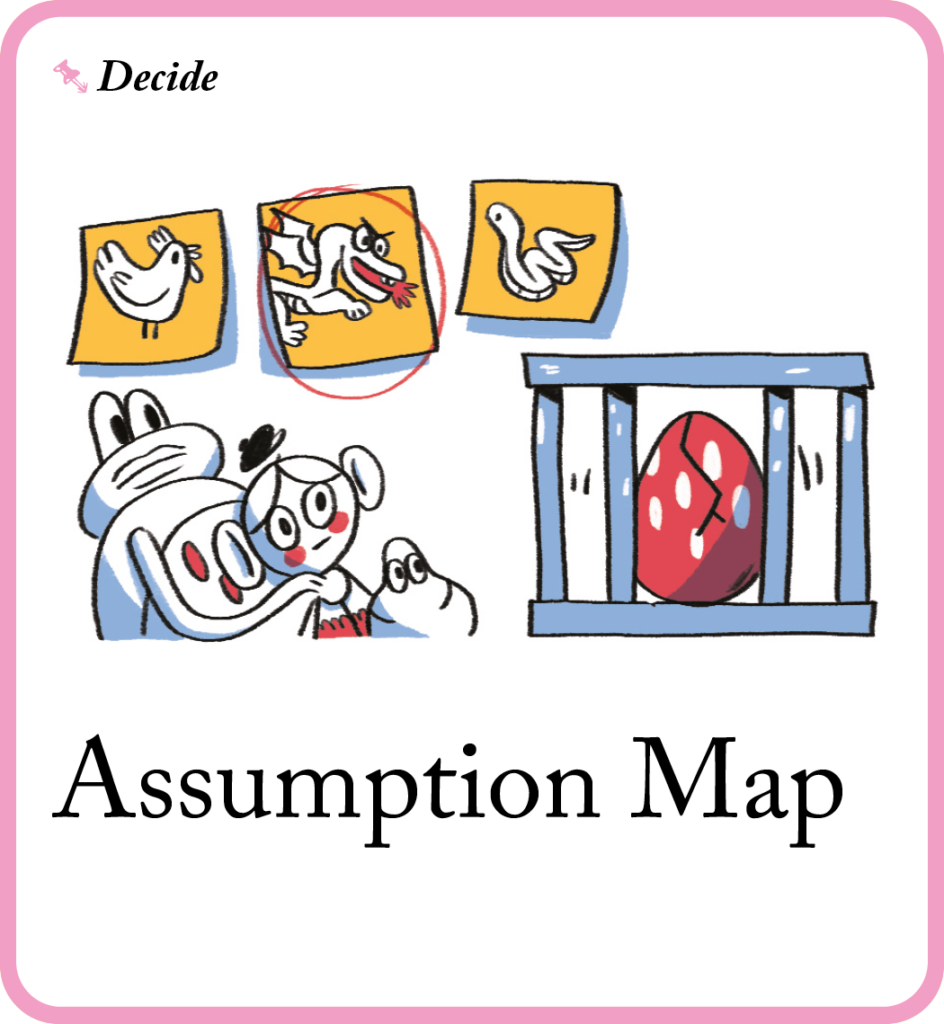
Using Assumption Map to help prioritise risks
Using Assumption Map to help prioritise risks
⏱️ Time: 1 hour
🧠 What’s the goal? Prioritise your most unknown and riskiest assumptions, to give the project the right focus.
👀 Why is this important? Prioritise your assumptions based on certainty and risk. Identify your riskiest and most unknown assumptions to gain a clear picture on where to focus your energy. It’s safe to assume that this is one of the most valuable tactics to have in your back pocket.
💡 Tip: the point is to work out which assumptions carry the most risk, and which include the most unknowns.
Instructions
- Make an Assumption Map with Certainty and Risk on the axes to plot assumptions. (20 minutes)

-
Plot each assumption from the previous session on the map, asking the group (20 minutes):
- How bad would it be if we were wrong about this?
- How much understanding do we currently have?
Tip: it can help to ask “is this one more or less risky or unknown than this one?” to get a sense of relativity between items.
- Finish plotting all assumptions on the map. (20 minutes)
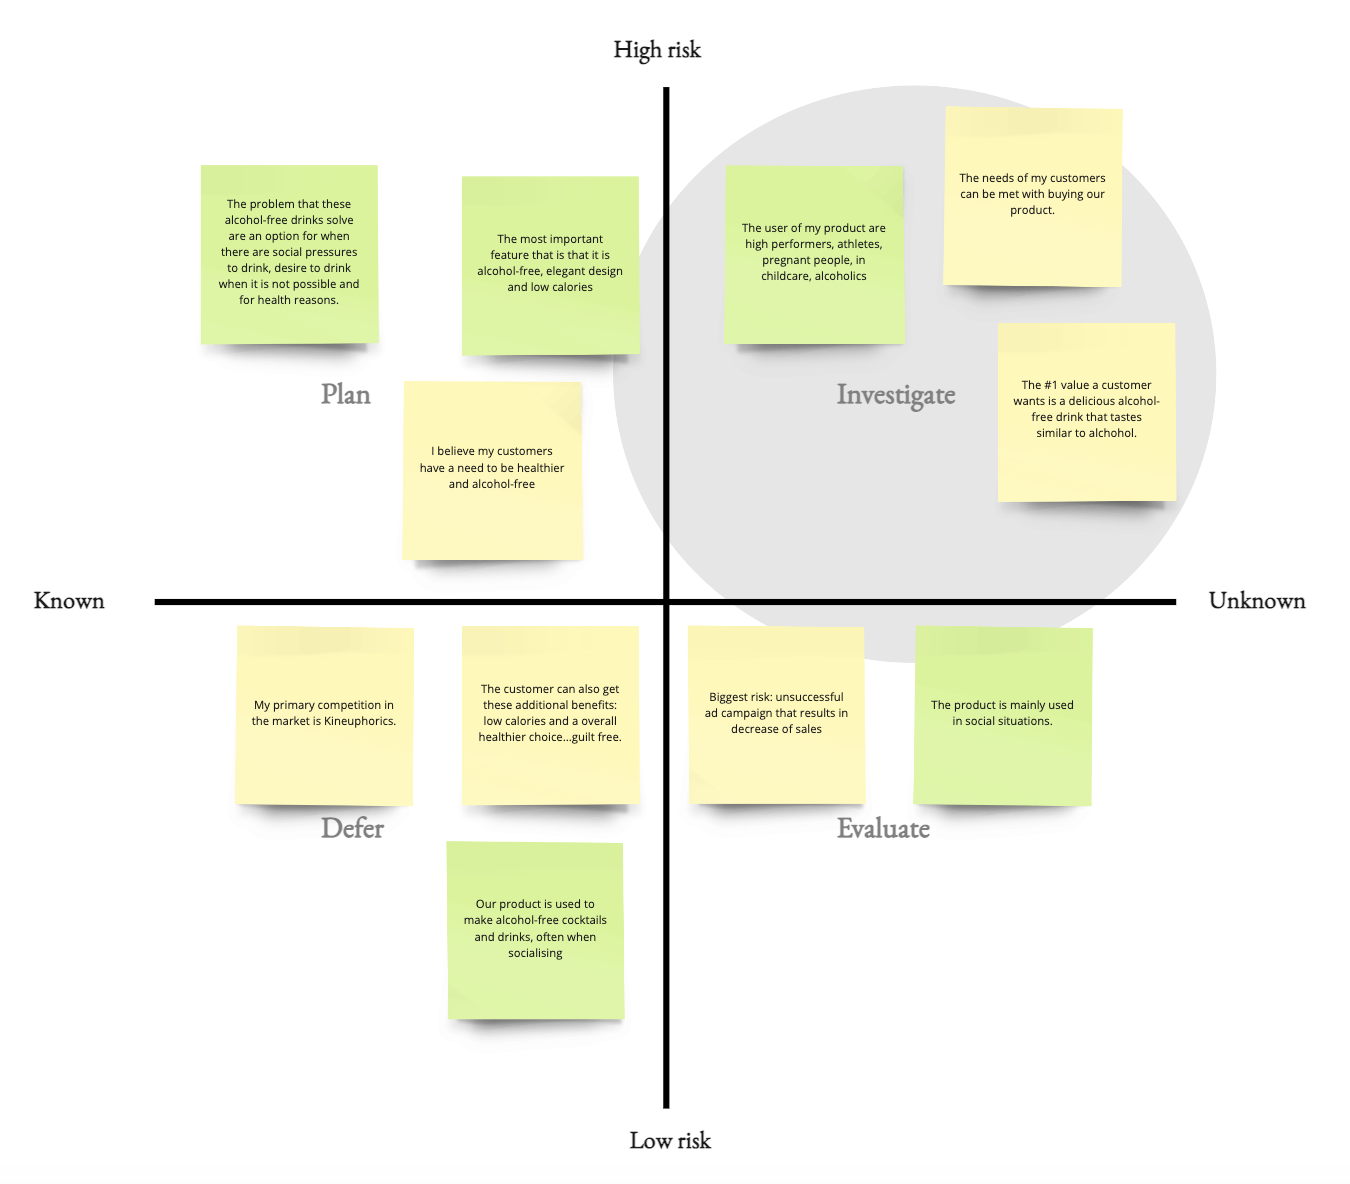
- Identify the riskiest and most unknown assumptions and turn them into a Hypothesis Statement for validation.
⬇️ In the next tactic, summarise your results with Hypothesis Statement.
4
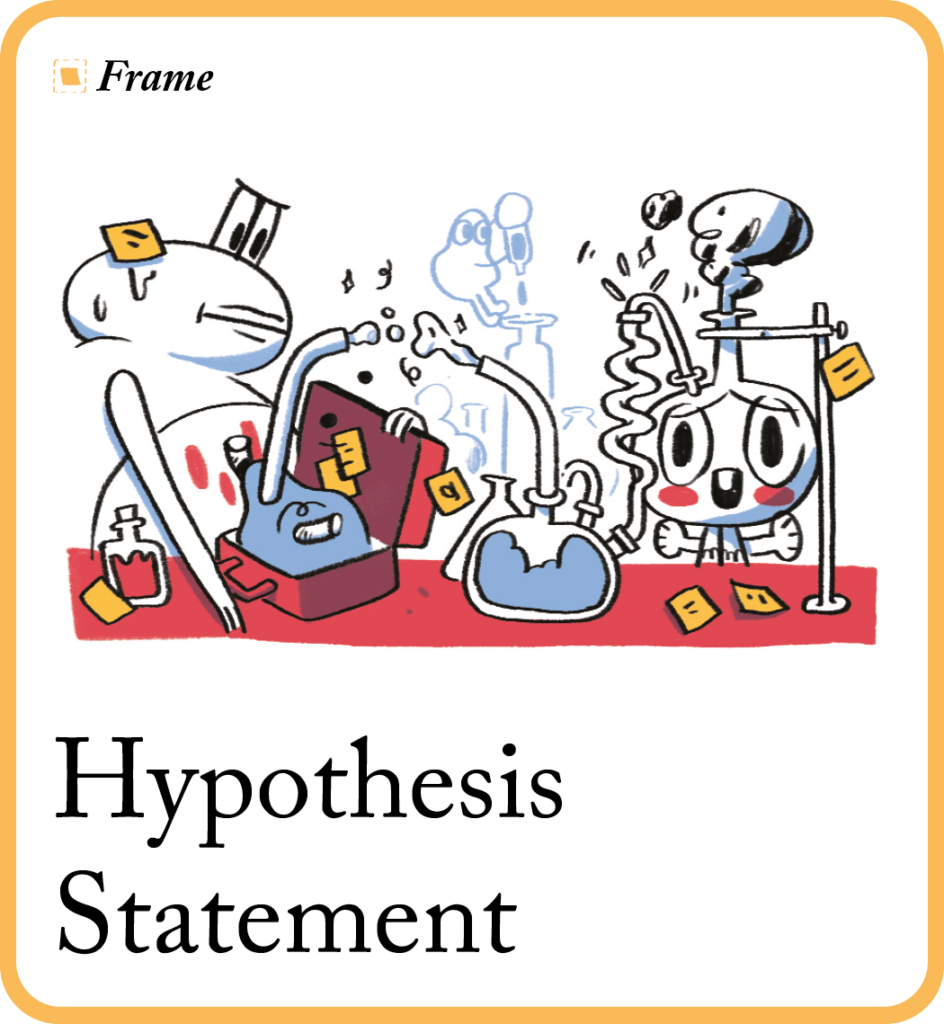
Use Hypothesis Statement to summarise results
Use Hypothesis Statement to summarise results
⏱️ Time: 30mins
🧠 What’s the goal? Frame your prioritised assumptions as experiments that will put them to the test.
👀 Why is this important? Test your assumptions, treating each of them as experiments by turning them into hypotheses. Take the subjective and political conversation out of the decision-making process, and focus the team towards feedback from users and customers.
💡 Tip: be mindful of the fact that bias is a risk at this point. It’s easy to look for the positives in a product or project you believe in, and to ignore the negatives or risks. It can be good to get the team to come up with hypotheses in groups, and then swap them for testing to try to encourage objectivity.
Instructions
- Put the riskiest and most unproven assumptions from the previous session into a hypothesis template (see example below). (20 minutes)
- Use a quantitative or qualitative insight to support the assumption.
- State what you believe to be true.
- Identify feedback that will confirm whether you are right or wrong.
- Break down the hypothesis into smaller parts if it’s too big to test with a single statement.
- Have the group Secret Vote on the hypothesis they want to commit to. (5 minutes)
Hypothesis Examples
- We believe that [making a new life-style ad campaign] for [pregnant people] will achieve [an increase of pregnant customers and sales].
- We will know this is true when we see [our pregnant customers actively engage with the ads and buy products].
📚 What do I need before I start?
In person
- Prepare (book room, invite people, write and share agenda)
- Materials (whiteboard, sticky notes, pens)
- Tech check (charger, adapter, screen projector)
- Room (refreshments, temperature, chairs, wall space)
Hybrid
- Prepare (book room, send call link, invite people, write and share agenda)
- Materials (whiteboard, sticky notes, pens, Miro board)
- Tech check (charger, adapter, screen projector)
- Room (refreshments, temperature, chairs, wall space)
Online
- Prepare (invite people, write and share agenda, create and send call invite)
- Materials (Miro board)
- Tech check (charger, adapter, Microphone/headphones)
✨ Extra reading
- Read about your role as a Facilitator
- Prepare an Icebreakers
- Invite the right Stakeholders
💭 What next?
Congratulations you have completed your Project Kick-off! You have now gotten your project off to the best start, while also preventing potential problems.
Now you’ve kicked off your project, you’ll need to give your team the best chance of success with Team Time.
Looking forward to using this Guide in real time with my team after reading it through in much detail. The examples are exactly what I was looking for. Can’t wait to use the other Guides as our project continues on.